دفاع منطقه
ای
|
|
دفاع منطقه
ای
|
|
Contents 1-2-2 half court zone 20-2-3 zone 2-1-2 (21) 2-3 (23) tight 2-3 basic movement 1 2-3 tandem 5-on-4 shell drill Diamond defense Drillo/petter high zone Zonal 1-2-2 |
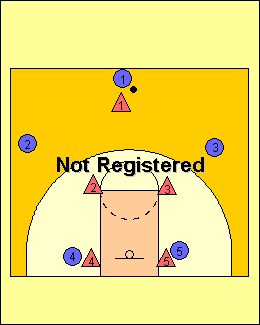
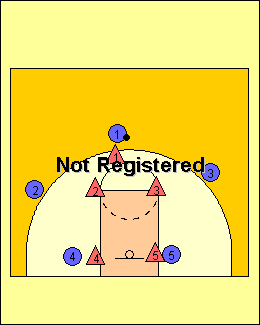
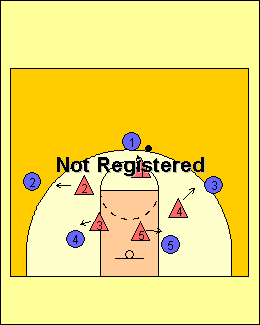
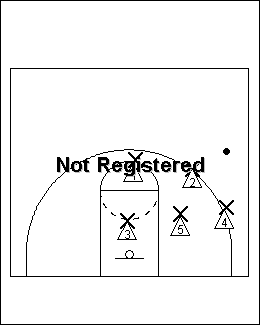
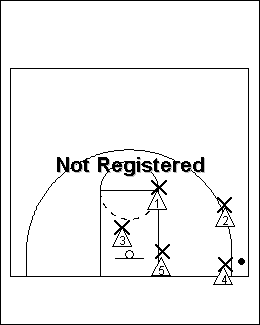
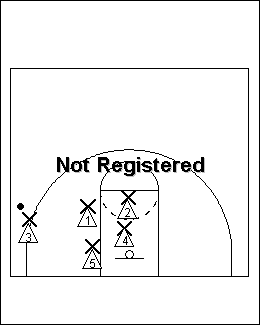
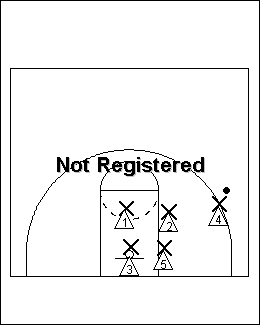
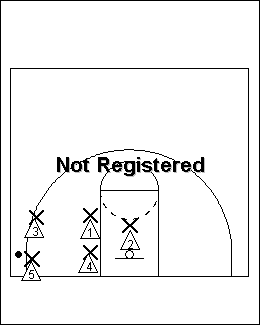
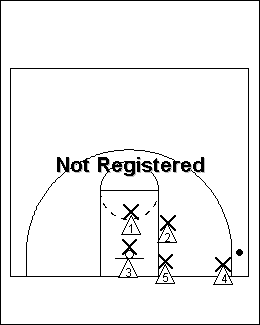
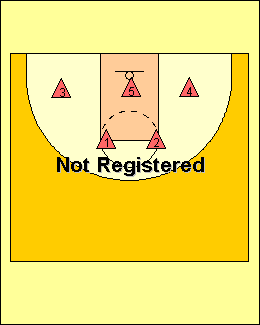
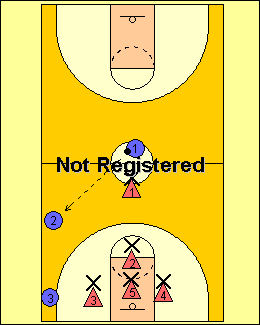
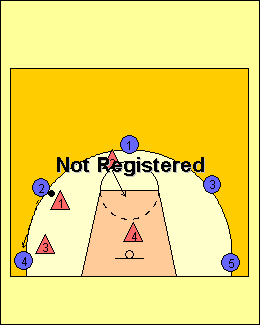
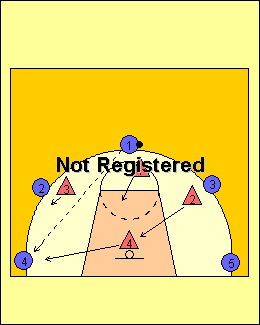
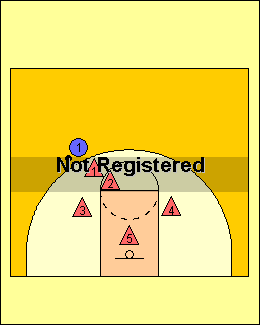
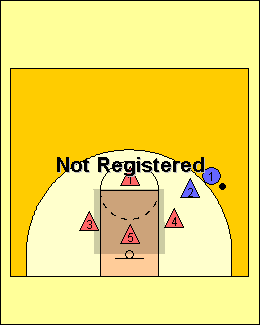
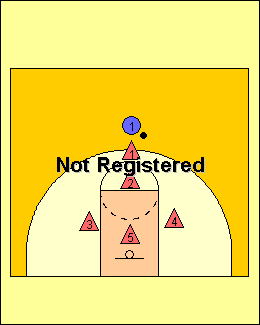
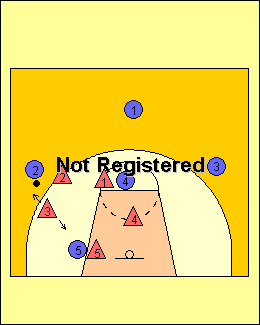
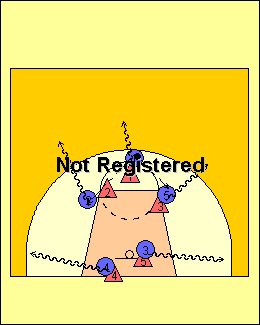
The 1 is to meet the ball at half court to begin putting pressure on the ball.. The 2 & 3 are stationed at the elbow to prevent any penetration.. The 4 & 5 are at the box for interior defense and rebounds. |
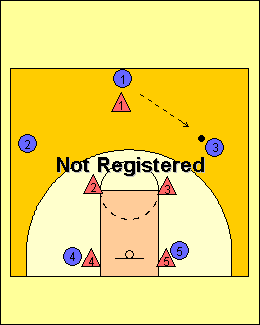
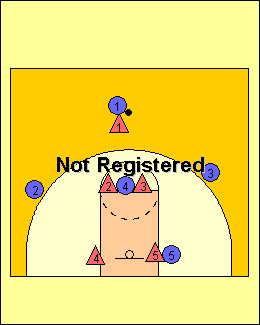
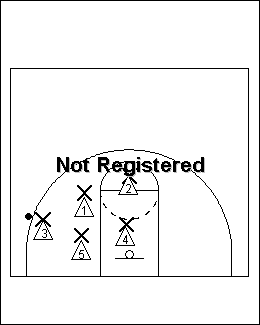
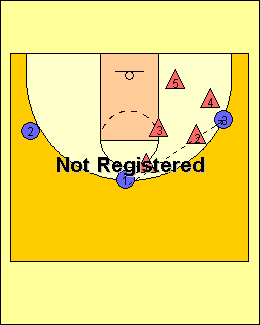
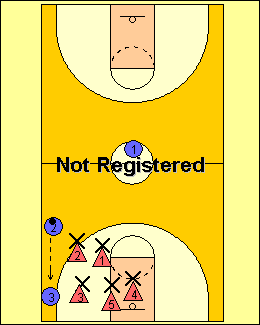
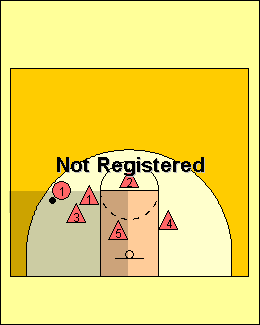
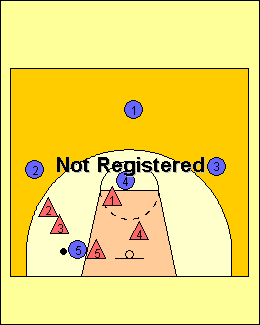
So the 3 on defense would play man and the 1 would take his place on the elbow. |
|
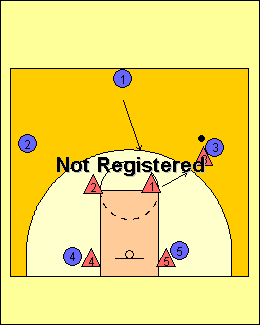
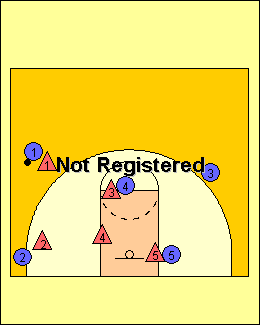
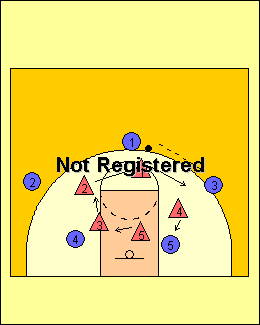
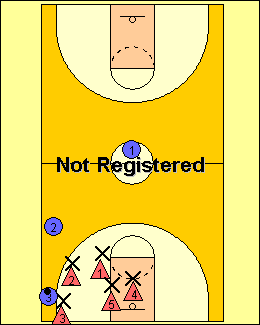
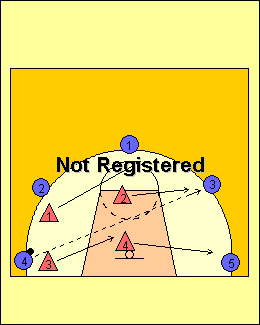
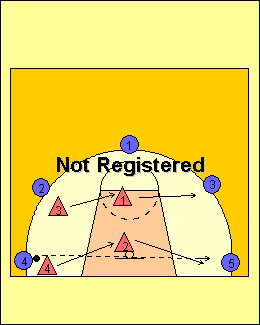
The 3 would follow and play the passing lane. The 1 would play a man on the ball. The 2 would move to the middle of the foul line. The 5 would front the post. The 4 would cheat over for help if needed and be in position for rebounding. The 2 & 4 should be mindful of where there man is in case they try to cut down in the middle. Nothing for them to do. |
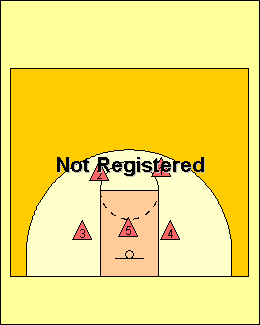
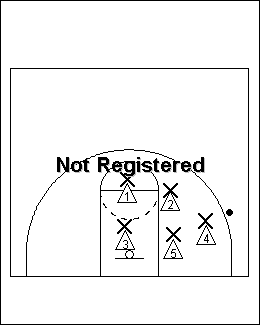
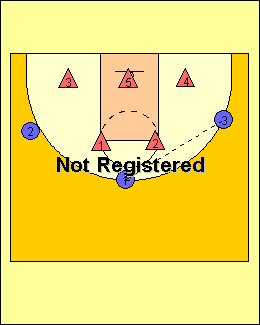
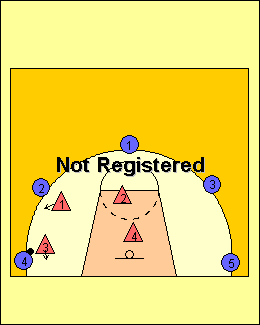
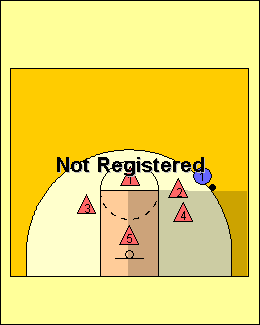
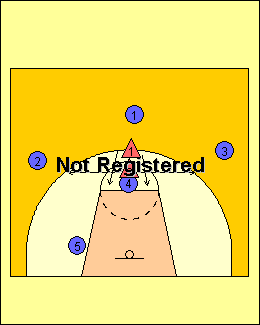
We're back in our original setup of the zone. |
|
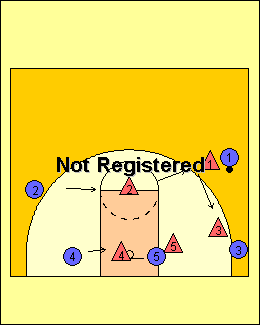
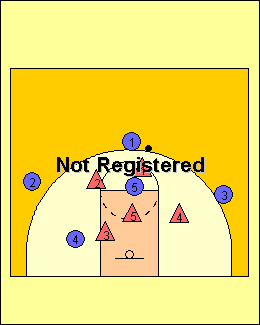
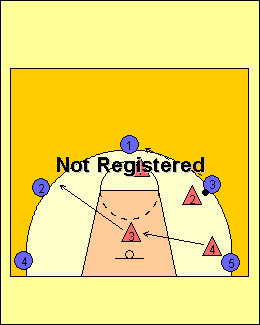
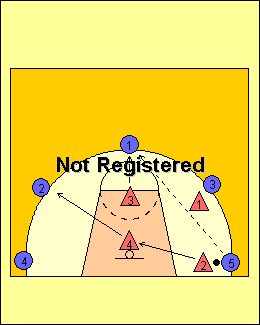
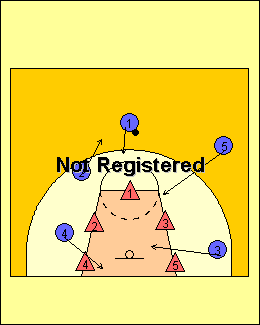
The rotation is the 2 drop to the passing lane and the 3 front the high post. The 4 can cheat up a little to the middle for no penetrating access. The key to this defense is that there's always someone putting pressure on the ball. |
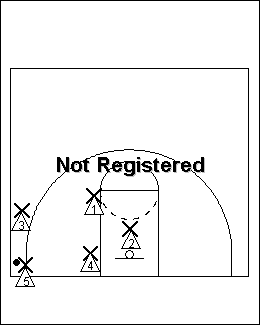
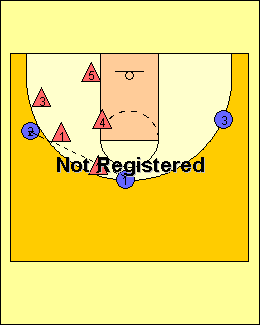
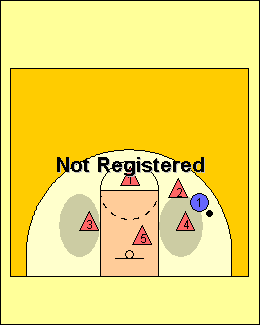
Can be effective against an aggressive penetrating team. Players will use our man to man principles when playing zone. |
Communication is key when playing zone. The defense must be talking to each other. |
x1 would bump x4 down. x4 does not leave until x1 tells him to. BUMPING will occur only when a back line defender is out guarding a perimeter player. |
x1 and x2 will help x5 by trying to get a hand in any passing lane to 5. x5 will keep 5 as far away from the basket as possible on any shots taken by the offense. |

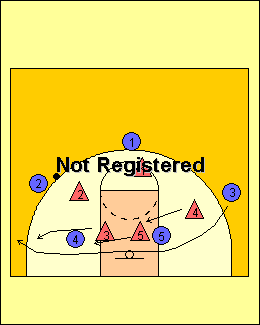
x1 bumps x4 down, and x2 rotates up. x4 will match up with 2 in the corner. |
|

Ball IN MIDDLE LANE X1 and X2 straddle circle no more than 2 ft. apart from arms extended. X3 andX4 straddle foul line stand above block X5 in front of basket toes on broken circle line |

X1 slide left > protect high post X2 assist with high post > stop fast return pass to weak side X3 moves up and in lane with ball > cut off passing lanes inside foul line extended X4 covers lane > plays in front of basket X5 halfway position > assist with high post > cuts off any passes to low post |
X2 slide left > protect high post X1 assist with high post > stop fast return pass to weak side X4 moves up and in lane with ball > cut off passing lanes inside foul line extended X3 covers lane > plays in front of basket X5 halfway position > assist with high post > cuts off any passes to low post |
X1 responsible for pass to high post X2 moves behind post for lob pass X3 moves up to foul line extended > plays outside shoulder > DO NOT PERMIT DRIBBLE DOWN SIDELINE X5 covers pass to low post X4 protects basket and lob passes to weak side |
X2 responsible for pass to high post X1 moves behind post for lob pass X4 moves up to foul line extended > plays outside shoulder > DO NOT PERMIT DRIBBLE DOWN SIDELINE X5 covers pass to low post X3 protects basket and lob passes to weak side |
If offense dribbles out X3 automatically doubles with X5 X1 prevents pass to high post > plays arm and leg rule > look into basket X2 covers lane > must rebound weak side X3 prevents pass from corner X4 prevents pass to low post > plays arm and leg rule low post X5 protects baseline > (bounces off baseline) > traps in corner |
If offense dribbles out X4 automatically doubles with X2 X1 plays arm and leg rule > look into basket X2 prevents pass from corner X3 covers lane > must rebound weak side X4 protects baseline > (bounces off baseline) > traps in corner X5 plays arm and leg rule low post |
BALL IN THE MIDDLE X1 and X2 straddle circle line no more than 2ft. apart from arms extended X3 and X4 straddle foul line 1ft. above block > NEVER LEAVE PASS PENETRATE FOUL LINE EXTENDED X5 line up on broken circle > stop penetration to high post |
X1 slides left to protect high post X2 assist with high post > stops return pass to weak side X3 moves up lane with ball > cuts off passing lanes inside of foul line extended X4 covers lane > plays in front of basket X5 halfway position > assist with high post > cuts off any pass to low post |
X2 slides left to protect high post X1 assist with high post > stops return pass to weak side X4 moves up lane with ball > cuts off passing lanes inside of foul line extended X3 covers lane > plays in front of basket X5 halfway position > assist with high post > cuts off any pass to low post |
X1 responsible for pass to high post X2 moves behind post > covers lob pass X3 moves up to foul line extended > plays outside shoulder > DO NOT PERMIT DRIBBLE DOWN SIDE LINE > cuts off passing lanes inside of foul line extended X4 protects basket > rebound weak side X5 covers pass to low post |
X2 responsible for pass to high post X1 moves behind post > covers lob pass X4 moves up to foul line extended > plays outside shoulder > DO NOT PERMIT DRIBBLE DOWN SIDE LINE > cuts off passing lanes inside of foul line extended X3 protects basket > rebound weak side X5 covers pass to low post |
If offense dribbles out X3 automatically doubles with X5 X1 prevents pass to high post > plays arm and leg rule > look into basket X2 covers lane > must rebound weak side X3 prevents pass from corner > sink inside X4 prevents pass to low post > plays arm and leg rule low post X5 protects baseline > (bounces off baseline) > traps in corner |
If offense dribbles out X4 automatically doubles with X5 X2prevents pass to high post > plays arm and leg rule > look into basket X1 covers lane > must rebound weak side X4 prevents pass from corner > sink inside X3 prevents pass to low post > plays arm and leg rule low post X5 protects baseline > (bounces off baseline) > traps in corner |
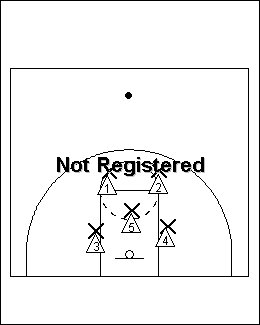
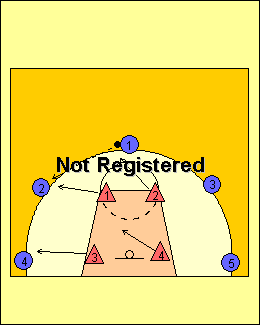
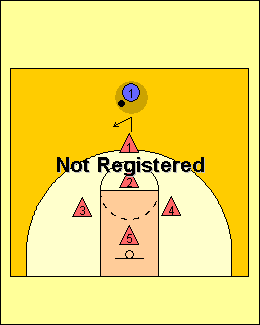
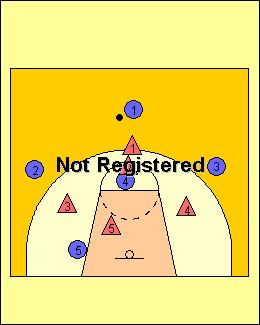
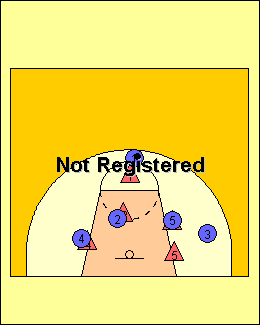
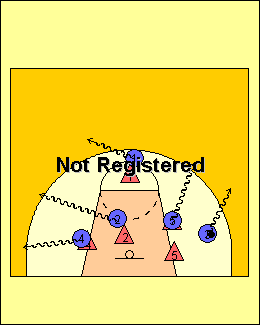
When the defense is initially set up, the 1 and 2 guards are at the free throw line. 3 and 4 are the wings, 5 is in the middle. |
|
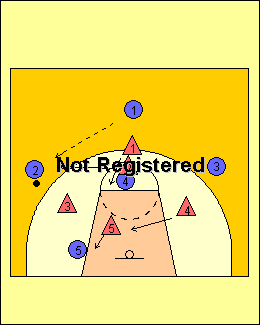
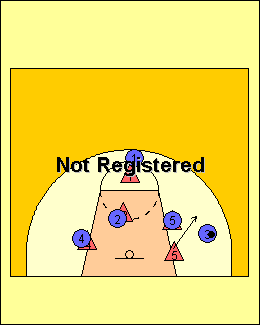
If offensive player 1 tries to penetrate the defense, defenders 1 and 2 just close up and get side by side. |
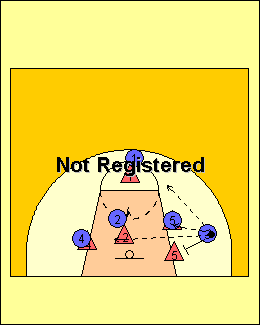
Wherever the ball goes on the half court this defense will always look like a 2-3 zone. Two people will always be on the ball and the other 3 will be lined up. |
X1 picks ball up at half court #2 protects against pass to high post X3 and X4 straddle foul line 1ft. above block NEVER LEAVE PASS PENETRATE FOUL LINE EXTENDED X5 line up on broken circle > stop penetration to high post |
X1 slides left to protect high post X2 plays player with ball X3 moves up lane with ball > cuts off passing lanes inside of foul line extended X4 covers lane > plays in front of basket X5 halfway position > assist with high post > cuts off any pass to low post |
If offense dribbles out X2 automatically doubles with X3 X1 prevents pass to high post > plays arm and leg rule > look into basket X4 covers lane > must rebound weak side X5 prevents pass from corner > sink inside X5 prevents pass to low post > plays arm and leg rule low post X3 protects baseline > (bounces off baseline) > traps in corner |
The offensive players stay stationary throughout the drill until the coach gives the instruction for the offense to go "live" (move, cut, and try to score) For several passes, the defense must rotate to offensive players based upon ball position and each defender's position. During the rotation stage, the defense is not allowed to intercept or steal the ball. This drill is designed to focus on proper defensive footwork, communication, and rotations. |
|
|
|
|
|
|
|
|
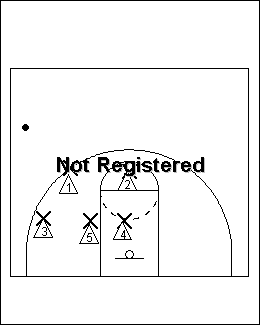
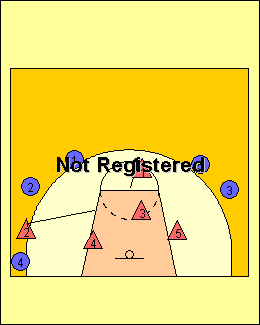
2's zone is the top of the key. |
|

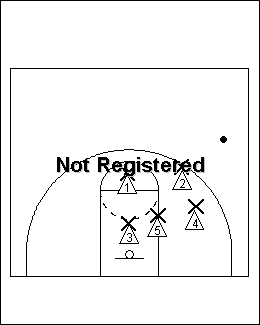
It's a perfectly ok for 1 & 2 switch positions in transition. |
|
|
|
They will have to take it back to the top. They might even make a bad shot or pass. |
This is a zone defense that is not as compact as normal zonal defenses. The zone is easily adjusted depending on the qualities of your opponents from game to game. It works particularly well for "short" teams against strong centers. Using this defense you will see that zonal offenses will have big problems breaking it. The key to making this defense successful is to secure the high-post area, in this case, to take out O(ffense)4. It's defenders D1 and D2 job to do this. Doing this enables D5 to concentrate on low center (O5), and D3 and D4 to defend a bit higher. |
|
*D1 is now securing the high-post. *D5 plays on the back of O5. *D4 comes in to the paint, sagging to strong side. *D3 has two options: 1. Double team forward (O2) with D2. 2. Stand between forward and center, disabling pass to low-post. Note: If the pass were to go to the other wing (O3), D3 fronts of O5 and D5 sags towards the ball. |
* D1 secures high-post, fronting O4. * D3 sags down double teaming O5. * D2 take a stance in the passing line between O5 and O2, with his chest pointing up the court (to make sure O1 doesn't make a cut towards the ball). Notes. Rebounding: It's very important to always secure the high-post, this to keep a good triangle (defenders 1,4,5) for rebounding. The weak spot is if the shot is taken from the point-guard position). High-post: If O4 makes a cut toward the basket, defenders must first of all use fundamentals skills, such as bumping the cut, but also make sure he follows the player until other defenders can pick him up. |
1. Secure high-post!! 2. From of the picture you can see the movement of defenders 1 and 2. To talk is the most important thing, but a thing to keep in mind is to never move from ball-position to ball-position. |
The zonal defense is set up as shown. The attacking side may try to make runs into the key to try and score. |
The attackers may try to pass the ball to opposition even if they are marked well. Also the attackers may decide to retreat. If they don't retreat, the defenders can keep the men marked. |
The defenders should keep them marked at all times. If the attacker is in a none deadly position, the defender may play as spare man and watch and organize the squad. |
a) try to intercept the ball or b) mark the attacker if unsure Meanwhile the other defenders should be marking and cutting of the ball from reaching other attackers. |
a) try passing the ball to a team-mate (even though it won't get there) or b) drive in and go for the lay-up Either way the attacker is foiled. Defender no.5 can intercept the ball if passed and he can mark and stop the player from driving. The other defenders should be able to react if the attackers make a quick break. (BE ALERT) |
|

The attackers will try and draw you out by passing around each other, around the key. |
|
The remaining defenders should then cover for their partners. |
|
Questions or problems regarding this web site should be directed to [CompanyEmail].
|